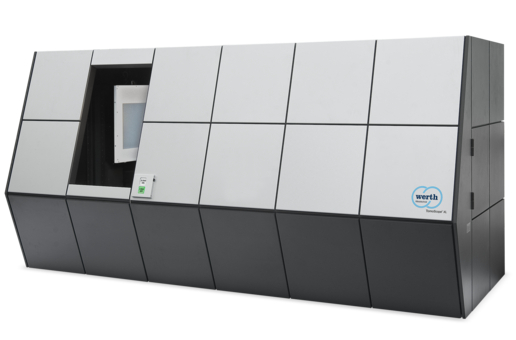
It provides a 3 dimensional image (STL) of non-conspicuous, hidden or narrow internal surfaces. The image then becomes measurable after it has been imported into CAD systems. It is perfectly suitable for carrying out failure analyses, identifying shrinkage cavities and performing leakage tests.
Its main advantage over 3D optical scanners is that it can also be used for the digitalization of non-conspicuous surfaces. It is able to create a point cloud (STL file) that optical scanners and thus CAD system can read; as a result, any measurement can be carried out on the 3 dimensional cloud captured from the inner geometry of the work piece. For failure analysis, functional tests can be performed and analyzed. The identification of shrinkage cavities is another useful feature: the program is able to tell where, in what amount, what volume and what diameter air bubbles can be found in the material of the workpiece – this can be important in the case of cracks and fractures.
Industrial CT machines work exactly the opposite way than human CT devices do: here, the workpiece is revolving on a rotary plate, slowly but continuously, while a large number of images are taken of it. The images are linked in 3D by the program, resulting in an enormous amount of data.
For the identification of inner defects, videos and images can be taken through the product being scanned, in the planes specified by the customer. Regarding prices, it is important to know that the smaller the workpiece, the lower the ‘per piece’ price is, which means that with certain products, this may be the cheapest measurement method – please note that the size of the workpiece is just one aspect; it is equally important that it must have the specified tolerance limits and it must be mono-material (i.e. composed of a single type of material).
Request an offer in 2 minutes!